When you’re planning a backcountry trip, choosing between ultralight vs. traditional backpacking isn’t just a gear question, it shapes how you move, what you carry, and how you experience the trail. Ultralight backpacking swaps durability and comfort extras for speed and efficiency. Traditional backpacking leans into robustness and versatility, with a higher base weight. The trick is matching your setup to your priorities, conditions, and budget. Let’s break down the differences so you can pick the system that actually fits how you hike.
What Defines Ultralight And Traditional
Base Weight Benchmarks
Base weight is your pack weight without food, water, and fuel. It’s the cleanest way to compare setups.
- Ultralight (UL): Typically under 10 lb base weight. Some hikers push sub-5 (super-ultralight), but that demands skill and ideal conditions.
- Lightweight: 10–20 lb. A common sweet spot for comfort and efficiency.
- Traditional: 20+ lb. Common for newcomers, shoulder-season trips, and folks prioritizing durability or comfort.
Your target base weight should reflect where you hike, your experience level, and what you’re comfortable leaving behind.
Core Philosophy And Trade-Offs
Ultralight backpacking trims every ounce you don’t need, starting with the “big three” (shelter, sleep system, pack). You swap framed packs for frameless, double-wall tents for trekking-pole shelters, and plush sleeping mats for lighter options. You gain efficiency and reduce fatigue, but you also give up redundancy, some weather protection, and long-term durability.
Traditional backpacking prioritizes comfort, versatility, and margin for error. You’ll carry sturdier tents, thicker pads, more clothing layers, and a framed pack that rides well under heavier loads. You’ll move slower and expend more energy, but you’ll have gear that handles rough weather and rough terrain with fewer compromises.
Pros And Cons At A Glance
Performance And Efficiency
If your goal is to cover miles with less strain, ultralight wins. A lighter base weight reduces joint impact and fatigue, especially on climbs and long days. You’ll notice quicker setup/teardown, fewer hot spots, and better energy late in the day. On high-mileage thru-hikes or routes with frequent elevation changes, that efficiency adds up fast.
Traditional setups can perform very well when loads swing heavier, think long food carries, winter layers, or carrying group gear. A supportive framed pack and beefier footwear can protect your body when the total load inevitably climbs.
Comfort, Safety, And Cost
Comfort cuts both ways. Ultralight is comfortable in motion, less weight on your back, but can be less comfortable at camp if you’ve pared down too far (minimal padding, thinner sleeping mats, fewer clothing layers). Traditional gear often feels more comfortable once you stop: roomier shelters, cushier pads, and a puffy you’re happy to hang out in.
Safety depends on judgment. Ultralight doesn’t mean unsafe: it means you must be disciplined about weather windows, navigation, and contingency planning. Traditional kits build in more buffers, extra insulation, sturdier shelters, which can be forgiving if conditions surprise you.
On cost, UL can be pricey upfront. Cottage-industry shelters and quilts use premium fabrics and command a premium. But you can also go ultralight by being selective: trim redundancies, choose a smaller pack, and upgrade strategically. Traditional gear can be cheaper initially and more durable, but over time, you might spend more lugging weight you don’t need.
Gear-By-Gear Comparison
Shelter Systems
Ultralight: Trekking-pole shelters and minimalist tarps save huge weight. Single-wall designs are common and pack tiny. They pitch fast, especially on established sites. Trade-offs include more condensation, tighter living space, and a steeper learning curve for a solid pitch in wind.
Traditional: Freestanding, double-wall tents shine in bad weather, on rocky ground, and on uneven platforms. They’re roomier, with better ventilation and fewer fussy guyouts. They’re heavier and bulkier but more forgiving when the forecast turns.
What to choose: If you value miles and don’t mind learning pitch techniques, go UL. If you often camp above treeline, in stormy shoulder seasons, or on awkward sites, a sturdy double-wall tent pays off.
Sleep System
Ultralight: Quilts replace sleeping bags to shave ounces and bulk. High-fill down excels in dry climates and compresses small. Pads trend toward lighter closed-cell foam or 3-season inflatable pads with adequate R-value. The weak spot? Thin mats on rocky ground and marginal warmth if temps dip below the pad’s rating.
Traditional: Full mummy bags with hoods, thicker pads with higher R-values, and sometimes liners for extra warmth. Heavier, yes, but warmer and more comfortable for side sleepers or cold-prone campers. Synthetic insulation offers better resilience in persistently wet environments.
What to choose: Prioritize warmth-to-weight and packability for UL. If you frequently camp on cold, damp ground or sleep cold, a traditional bag and beefier pad deliver more consistent sleep.
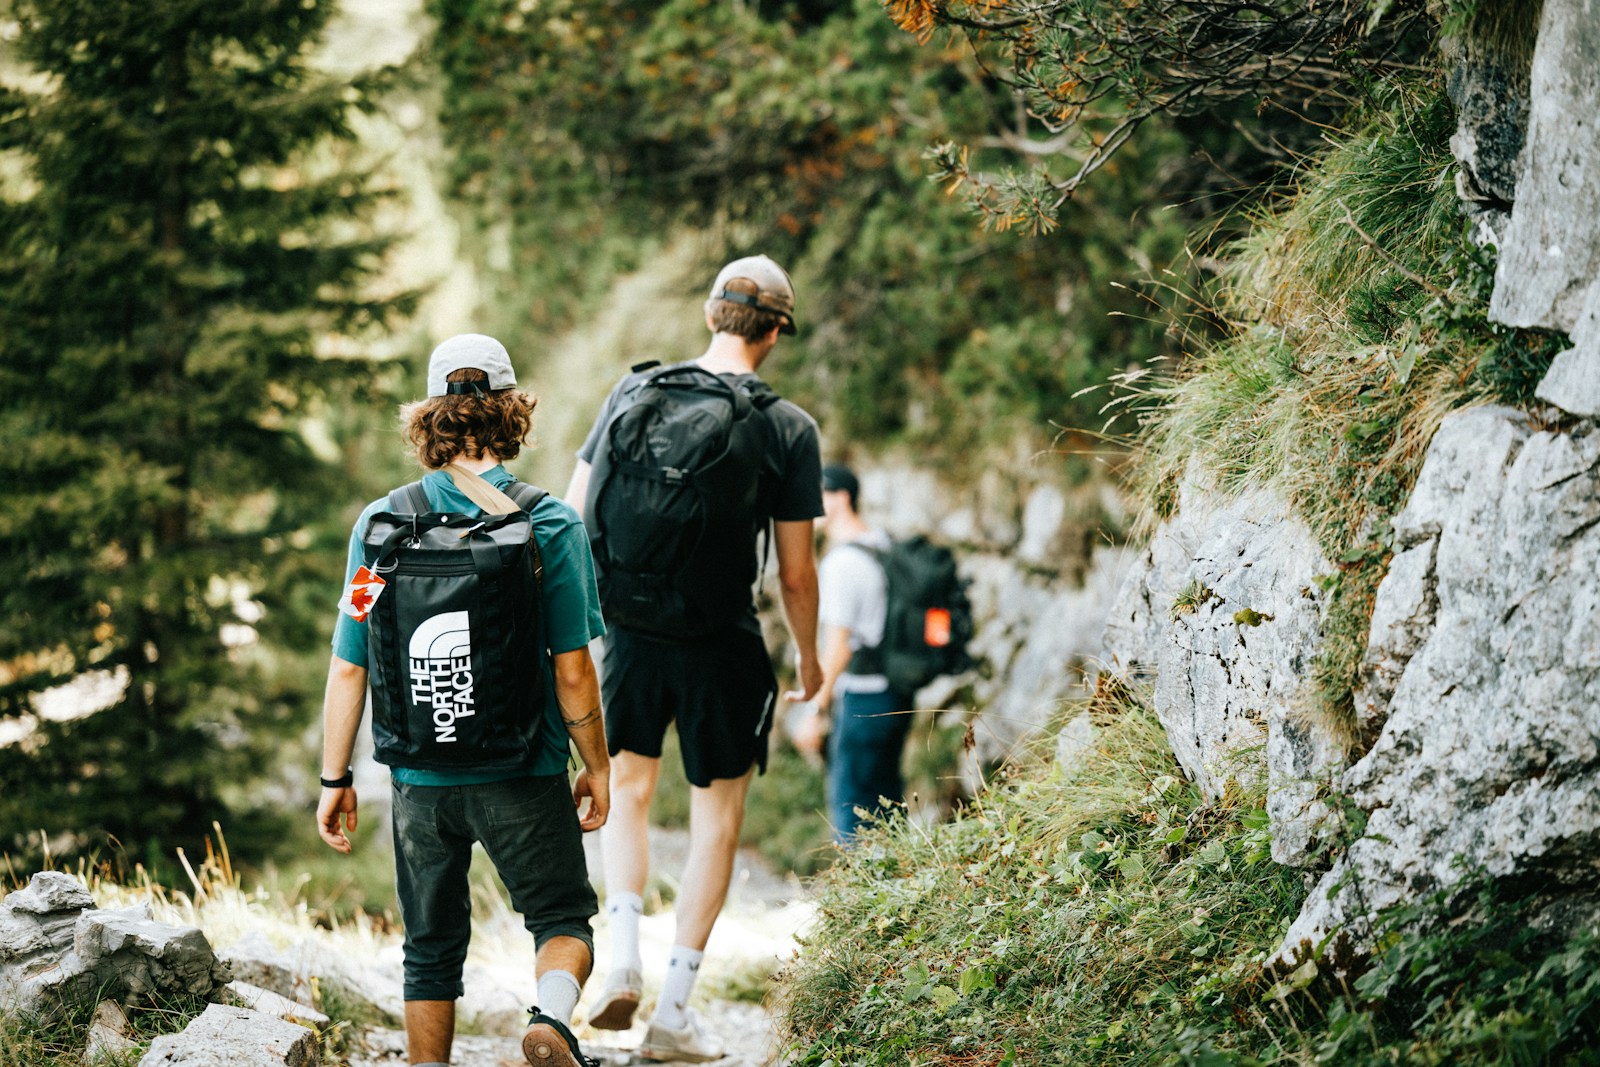
Packs And Carry
Ultralight: Frameless or minimalist-framed packs keep base weight low and reward tidy packing. You need a dialed kit so the pack carries well: above ~25–30 lb total, many frameless designs become uncomfortable.
Traditional: Fully framed packs with robust hipbelts excel with heavier loads, odd-shaped items, or winter gear. They’re heavier but transfer weight to your hips and keep your shoulders happier over rough terrain.
What to choose: If your dialed base weight is truly light, a UL pack feels amazing. If you carry photography gear, winter layers, or long water hauls, a supportive frame is sanity-saving.
Clothing And Footwear
Ultralight: You’ll take fewer layers, lean on high-performance fabrics, and often hike in trail runners. You dry faster and move freer, but the trade-off is shorter footwear lifespan and less ankle protection. Layering strategy matters: one warm midlayer, a wind shirt, and a reliable rain shell do a lot of work.
Traditional: More robust shells, insulated jackets, and leather boots that last. You’ll be warmer at camp and better protected bushwhacking. The cost is weight, slower drying times, and more foot fatigue for some hikers.
What to choose: In warm-to-mild conditions with maintained trails, UL apparel and trail runners shine. On rugged routes, off-trail travel, or heavy snowpack, traditional boots and burlier layers make sense.
Kitchen, Water, And Essentials
Ultralight: Alcohol or canister stoves with small pots, minimal utensils, and cold-soaking on short trips. Water treatment leans toward squeeze filters or chemical drops. Essentials are trimmed to the true basics, with small first-aid and repair kits.
Traditional: Larger pots for real cooking, sturdier stoves, and redundancy in treatment (filter plus tablets). More substantial first-aid, repair kits, and navigation backups. Heavier, but flexible for groups and variable conditions.
What to choose: Solo or fast trips favor a minimalist kitchen and squeeze filter. Group trips or shoulder-season outings benefit from robust stoves and a more comprehensive repair kit.
Situational Factors That Should Guide Your Choice
Terrain, Weather, And Season
Your environment sets the boundary conditions. High wind zones, persistent rain, early shoulder-season cold, and above-treeline camps argue for more traditional shelter and insulation. Forested, lower-elevation trails with stable summer forecasts invite ultralight choices. Snow travel, alpine starts, and mixed conditions increase the penalty for thin margins, build in more warmth, a sturdier shelter, and reliable footwear.
Trip Length, Resupply, And Group Dynamics
Trip length changes your total pack weight more than almost anything else. A UL kit with a 7-day food carry can exceed the comfort limit of a frameless pack. If resupplies are frequent, UL excels. If you’re stretching resupply windows, consider a framed pack and more substantial footwear.
Group dynamics matter. Carrying shared gear can lighten everyone’s load, but if you’re the de facto safety net, you may want a more traditional buffer. Solo hikers often go lighter because they control all the variables: families or mentoring trips benefit from durability and redundancy.
A Practical Decision Framework
Assess Priorities And Risk Tolerance
Start with the experience you want. Do you care most about big-mile days and low fatigue? Or do you want a cozy camp and robust weather security? Be honest about your risk tolerance. If you’re still honing navigation and backcountry judgment, a traditional margin can be wise while you build skills.
Set A Target Base Weight And Budget
Pick a base weight that matches your goals and conditions, maybe 12–15 lb for a balanced lightweight approach, under 10 lb if you’re confident and conditions are favorable. Then budget upgrades where they matter most. The biggest wins come from the big three. Resist nickel-and-diming tiny items until you’ve addressed shelter, sleep, and pack.
A simple plan:
- Lock your shelter and sleep system first for your season and region.
- Choose a pack that carries your total load comfortably.
- Trim small items only after the core is dialed.
Hybrid Setups And Transition Tips
Smart Swaps With Big Impact
You don’t have to go all-in. Hybrid setups often hit the sweet spot. Consider these swaps:
- Replace a double-wall tent with a trekking-pole shelter to drop a pound or more.
- Swap a sleeping bag for a quilt and right-size your pad’s R-value for the season.
- Move from leather boots to trail runners for three-season trails if your ankles are strong.
- Downsize your cook kit: 750–900 ml pot, tiny canister stove, one spoon.
- Choose a 40–50L pack with a light frame to keep comfort under moderate loads.
Test, Iterate, And Dial In Your Kit
Field-test changes on short trips first. Pitch your new shelter in wind and rain at home. Sleep in your quilt near the trailhead before committing deep in the backcountry. Keep notes: where you were cold, what you never used, where you wished for more margin. Adjust one variable at a time so you know what actually helped. Over a few weekends, you’ll land on a setup that feels effortless and safe for your style and terrain.
Conclusion
Ultralight vs. traditional backpacking isn’t a binary choice, it’s a spectrum. If you want efficiency and longer days, lean lighter, especially with your big three. If you prioritize camp comfort, variable weather, or group needs, keep more traditional buffers. Match your gear to your terrain, season, and risk tolerance, and be willing to iterate. When your kit aligns with how you actually hike, the miles get easier, the nights get warmer, and the trip becomes about the experience, not the load on your back.
Frequently Asked Questions
What is base weight in ultralight vs. traditional backpacking?
Base weight is your pack without food, water, and fuel. In ultralight vs. traditional backpacking, UL targets under 10 lb (some go sub-5 with skill), lightweight is 10–20 lb, and traditional is 20+ lb. Choose a target that matches your terrain, experience, and comfort with leaving extras behind.
How do I choose between a trekking‑pole shelter and a freestanding double‑wall tent?
Trekking‑pole shelters (UL) save major weight, pack small, and pitch fast, but can have more condensation and tighter space. Freestanding double‑wall tents handle wind, rain, rocky sites, and uneven platforms better, with more room and ventilation. Prioritize mileage and weight savings for UL; pick double‑wall for stormy, exposed, or tricky campsites.
When is a framed pack better than a UL frameless pack in ultralight vs. traditional backpacking?
Frameless packs shine when your total load stays under roughly 25–30 lb and your kit is tightly dialed. Choose a framed pack for long food carries, winter layers, group gear, awkward loads, or frequent water hauls. Frames transfer weight to hips, boosting comfort and control over rough terrain.
What R‑value sleeping pad is best for three‑season backpacking?
For most three‑season trips, aim for an ASTM R‑value around 3–4; go 2–3 for warm summer nights and 4–5 if you sleep cold or expect shoulder‑season lows. Pair pad warmth with your quilt/bag rating, and remember ground type (rocky, wet, high elevation) can demand a higher R‑value.
How do I calculate and track base weight accurately?
Weigh every non‑consumable item dry using a kitchen scale, list them in a spreadsheet or gear app, and total by category (shelter, sleep, pack, clothing, kitchen, essentials). Exclude food, water, and fuel. Track “carried vs. worn,” note seasonal swaps, and audit after trips to remove unused items.
No responses yet